A. Using a browser like Google Chrome or Edge type in the address bar and type portal.office.com
B. This will take you to the login screen.
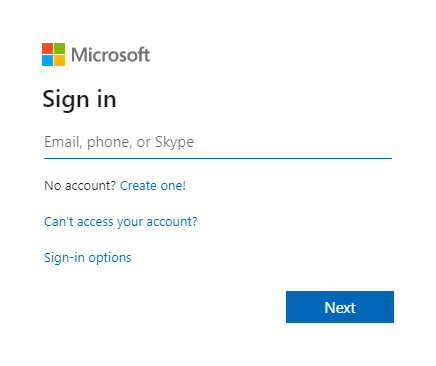
Enter your Username is: PupilNumber@edu.burnabyschools.ca and then click Next.
(e.g. 123213@edu.burnabyschools.ca)
Note: One common mistake is to forget to add the @edu.burnabyschools.ca after the Pupil Number
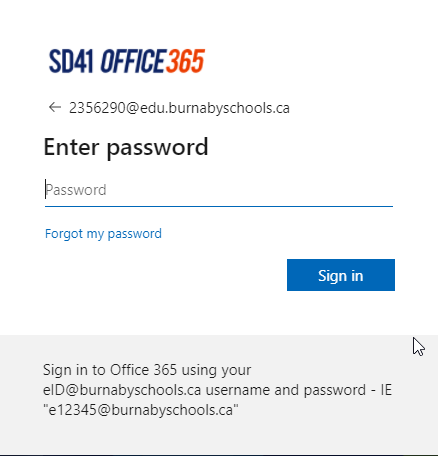
3. Now, enter your password and click Sign in.
4. If you have successfully logged in, a window will ask if you want your browser to remember your login.
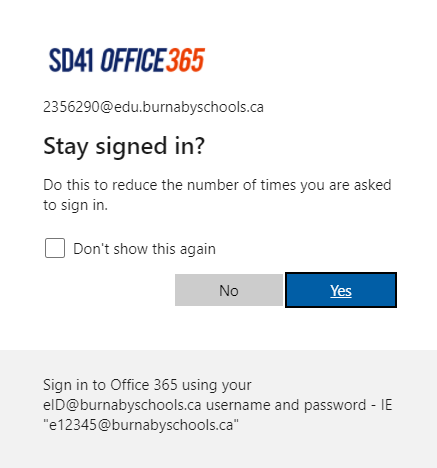
Note: if you have more than one child logging into the same computer, it is better to answer ‘No’ to this question.
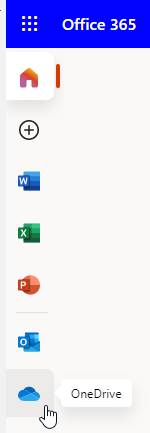
Click on the OneDrive blue cloud icon.
Navigate to the item in your OneDrive that you wish to share. Hover your mouse over the item and click on the share icon (sharow)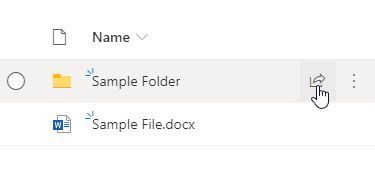
Use the Share Menu to set up your sharing options (see below)
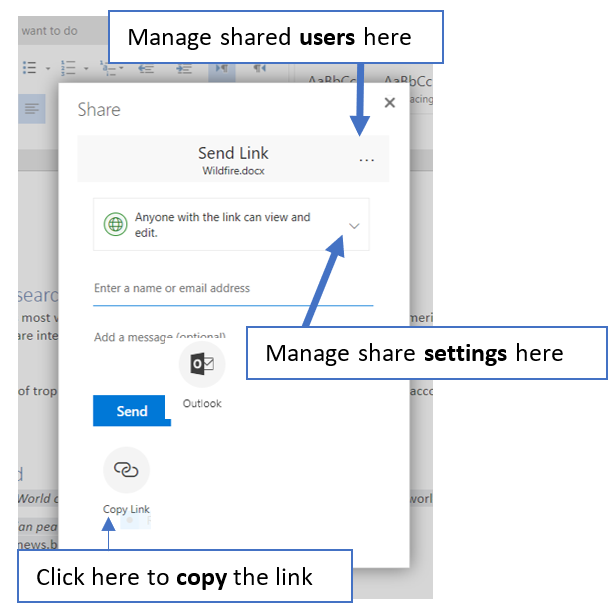
Sharing Options
You can turn off editing, set an expiration date for the link, set a password, prevent users from downloading your document, and limit users to specific individuals or Burnaby Schools users.
To manage share settings, click on the drop-down menu as shown in the image to the left.
If you do not want others to edit your document, make sure you change the share settings before emailing/copying the link.
- To email the link, click the “Outlook” button. This will open your Outlook email so you can compose a message with the file link attached.
- To create a link to the document that you can post on a website or other online place click the “Copy Link” button.
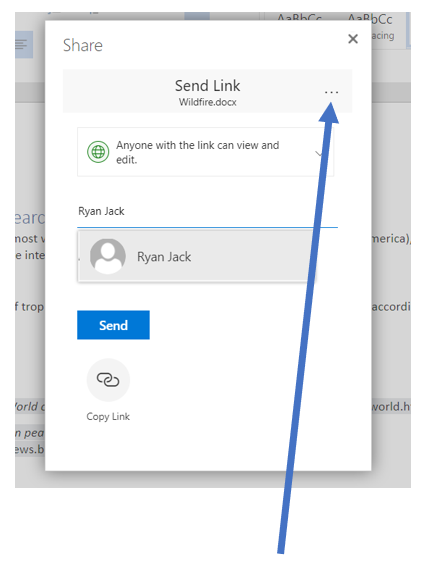
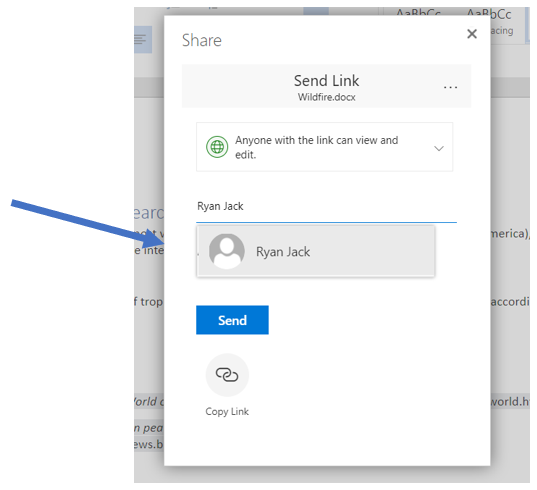
- To share directly with a Burnaby Schools user, enter the name of a staff member or student in the input box on the share menu. As you type their name a drop-down menu will appear – click on their name and then click the blue “Send” button to share with this individual.
Managing Shared Users
To manage who you have shared the document with already, click on the ellipses (…) in the grey “Send Link” header on the Share Menu. This will tell you who has access to your file and allow you to remove them or remove links that you no longer want to have available.